I finally got around to coming up with a DIY Christmas card design using the Snowman Dies. Love that cute snowflake frame!
I went with a nontraditional color combination for this snowman card. Even my son said he's partial to a pink and black combo!
Originally I planned to stamp the card sentiment from Snowman Magic directly on the card front through the frame. To avoid mistakes I decided to layer the frame over a piece of white cardstock the same size so I could place the frame over it and stamp before gluing it on. Yes, I do make mistakes often! LOL!
Save 10% when you order the stamps and dies together in the Snowman Magic Bundle.
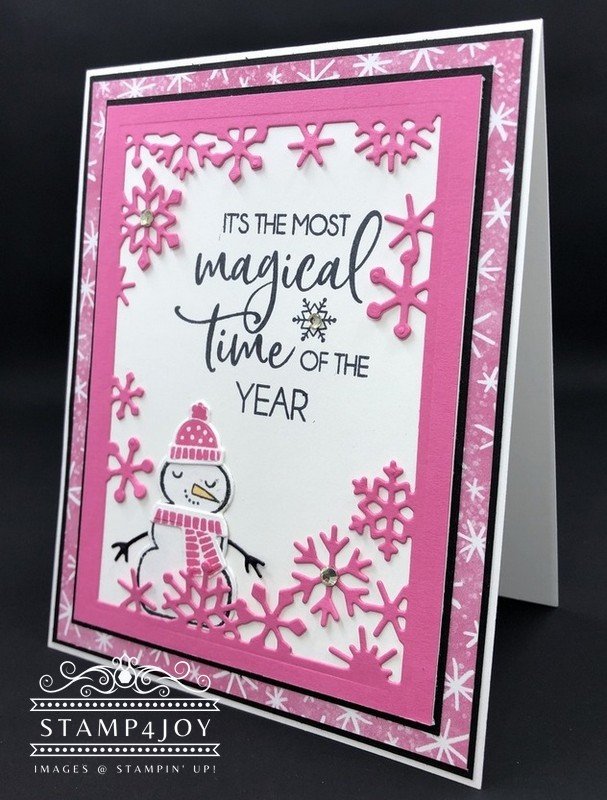
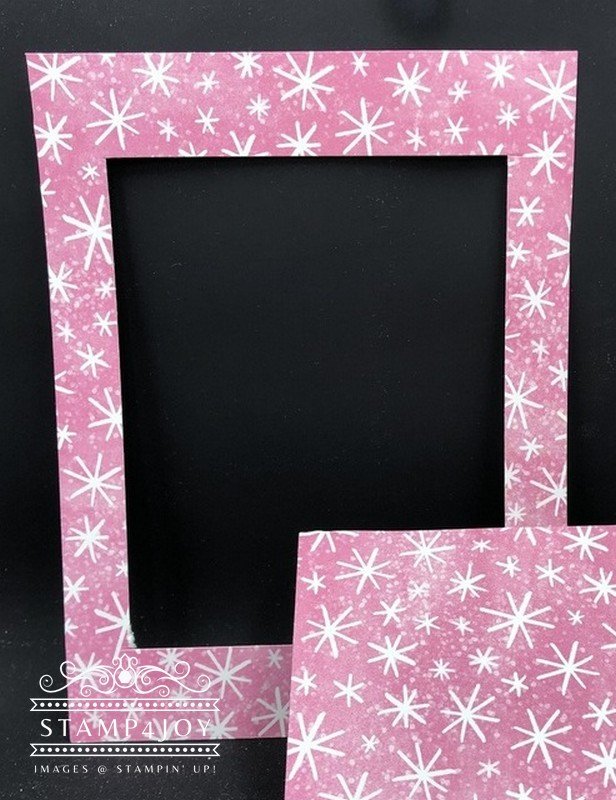
After gluing the frame on the stamped white cardstock I layered it onto some black cardstock. Then I glued it all over the lovely pink patterned paper. It's one of many designs included in the Celebrate Everything Designer Paper collection, a large assortment of paper patterns you can use for a variety of holidays and seasons throughout the year.
And Don't Forget!
Before gluing the designer paper to the bottom of another layer be sure to cut out the center so your pretty papers will last longer! You can eyeball it, but just be sure it's wide enough to cover what you need it to.
Finally, a few Rhinestone Basic Jewels were added for a bit of sparkle.
I really enjoyed creating this DIY Christmas card design and deciding how I would dress my snowman. There's so many options to choose from! I originally thought I'd add the little bird to my holiday card, but I didn't plan ahead where I was going to place it and what color I'd use. Next time!
Here's a simple Christmas idea featuring the Christmas card sentiment from this stamp set.