Paper and Craft Projects:
Gratitude Jar Craft Tutorial
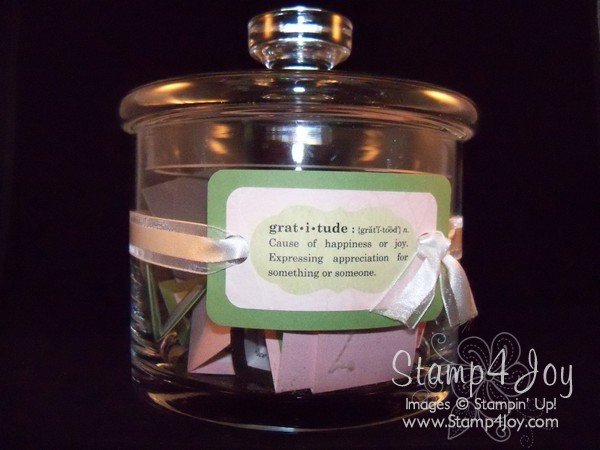
A while ago I ordered a set of glass jars, but there was one size I hadn't used. I've been trying to come up with a use for it and I think I've finally found one I really like… a Gratitude Jar!
I used some digital stamps from My Digital Studio for the focal piece, printed it, and mounted it on card stock. Very quick and easy! I'd like to share with you the craft tutorial for this project.
SUPPLIES
Digital Stamps and Software: Define Your Life (118844); My Digital Studio digital scrapbook software (disk-130647/download-130646)
Card Stock: Wild Wasabi (108641) 3-1/2″ x 2″; 2-1/2″ x 1-1/2″ card stock pieces, folded in half
Punch: circle from Itty Bitty Shapes Punch Pack (118309), 3/16″ Corner Punch
Ribbon: 5/8″ Whisper White Organza Ribbon (114319), about 24″
Adhesive: Multipurpose Liquid Glue (110755)
Digital Punch: Any Day Label Punch
Digital Designer Paper: Shades of Spring, patterns 2 (green) and 4 (pink)
INSTRUCTIONS
- In My Digital Studio, choose Cards & Tags for your project; select the 2-1/2″ x 4-1/4″ tag, and create your own.
- Select Shades of Spring 4 for the background paper.
- Select Punches, and then the Any Day Label Punch; right click, select Edit, and adjust the height to 160. Be sure to keep the Proportions box checked. Rotate the punch 90 degrees on the tag
- Select Paper Fill, Designer Papers, Shades of Spring, and pattern 2
- Select Stamps. Search for ‘gratitude” and select the stamp from Define Your Life; rotate it 90 degrees and center it on the punch
- Save your tag as a jpeg somewhere you'll remember
- Open a Word document, Insert a Picture, and select your tag; print
- Trim tag to 2-7/8″ x 1-5/8″ and round the corners using the 3/16″ corner punch
- Use the corner punch on your Wild Wasabi card stock piece
- Glue tag onto Wild Wasabi piece
- Using the circle punch from Itty Bitty Shapes Punch Pack, punch holes on each end of tag; thread ribbon through and around jar and tie.
- Stamp phrases on the 2-1/2″ x 1-1/2″ pieces or print phrases on copy paper and glue on. Fold in half and add to the jar.
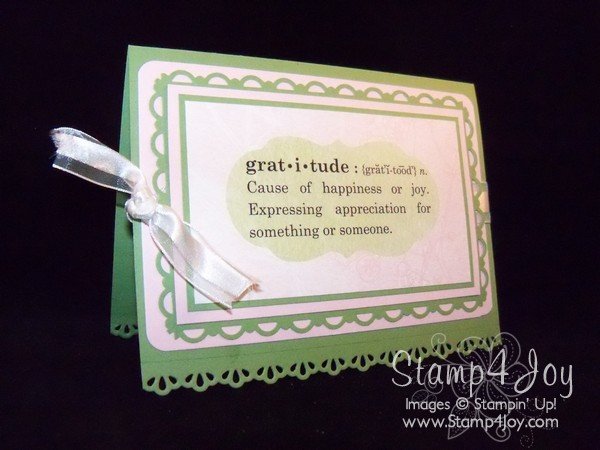 And here's a coordinating motivational greeting card I created.
Enjoy!


